
Are you wondering how to make Taylor Swift friendship bracelets like the ones you’ve seen all over social media?
If you’re a Swiftie gearing up for the Eras Tour, making friendship bracelets is a fun and creative way to express your fandom and connect with other fans. Follow this step-by-step guide to learn how to make the Taylor Swift friendship bracelets you can wear and share at the show.
What Do You Need To Make Taylor Swift Friendship Bracelets?
Before learning how to make bracelets for a Taylor Swift concert, gather the following materials:
- Beads: Use colourful beads, letter beads, and any other decorative beads you like. What size beads for Taylor Swift friendship bracelets? Consider using 6/0 or 8/0 size seed beads.
- Elastic Cord: Choose a durable, stretchy elastic cord. A 0.5-1mm thickness is ideal. Make sure your beads fit on the cord!
- Scissors: For cutting the elastic cord. Small ones are great for getting close to the knot. Thread snips are even better and will allow you to cut the loose ends right off, leaving a neat finish.
- Tape: This is optional, but it will allow you to hold the cord in place while you work. Alternatively, you can tie a knot at the end of your cord or elastic.
- Glue: Also optional, but we like to use some Super Glue over the knot after finishing the bracelet to stop it from coming untied.
- Bead Organiser: Again this is optional but helpful for keeping your beads sorted. If you’re planning to make lots of bracelets, you’ll definitely find this useful.
How to Make A Taylor Swift Friendship Bracelet: Step-by-Step Instructions
Step 1: Plan Your Design
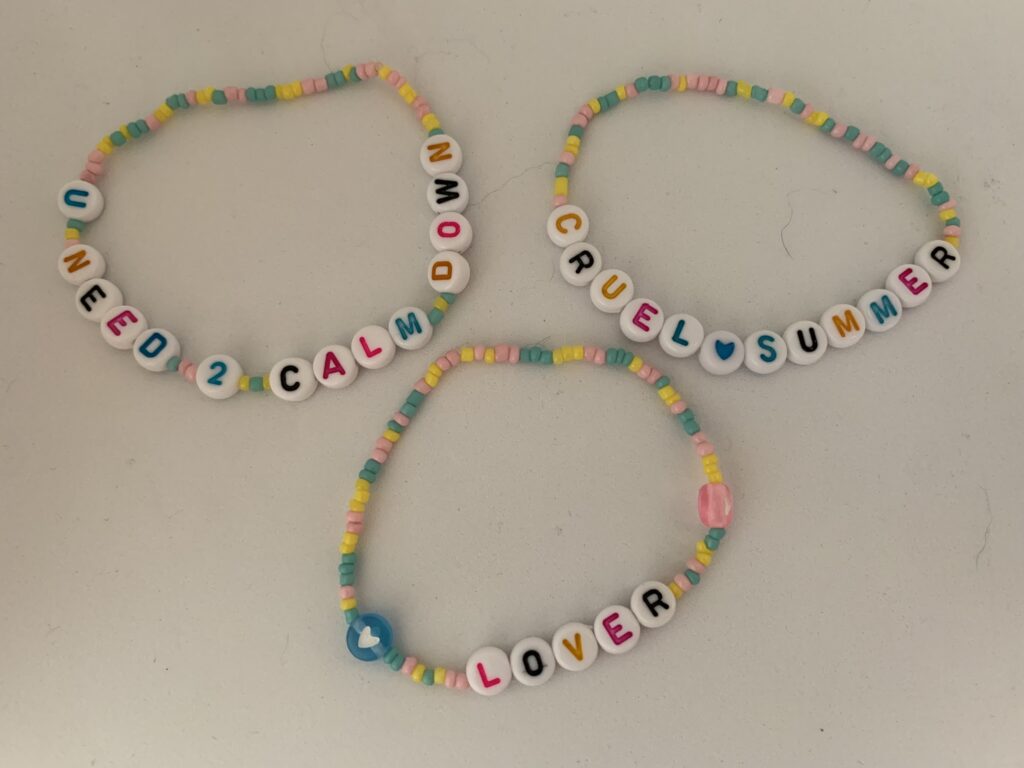
- Choose Your Beads: Decide on the colours and types of beads you want to use. Think about what beads for Taylor Swift bracelets will look best with your design. We like to choose colours from the album cover, for example, we went with red, orange and black for our Evermore bracelet set and pastel blue, pink and yellow for our Lover Era bracelets.
- Select Your Letters: If you want to spell out words or phrases, pick the letter beads you need. You could use black and white letters, or choose coloured letters to match the main colours of your bracelet. You can also be creative if you’ve run out of certain letters, for example by adding an extra line (use a thin Sharpie or similar marker) to an F to make an E! A P can also become an R, and an upside down V makes a great A. You can also use M and W interchangeably if you’ve run out of one but not the other.
Step 2: Measure and Cut the Cord
- Stretch the Cord: If you’re using elastic, it might be a little tight at first. So, pull and stretch it a little before making your bracelet. Doing so will stop your bracelet from becoming stretched out when you start wearing it.
- Measure the Cord: Wrap the elastic cord around your wrist to determine the length you need. Add an extra couple of inches to ensure you have enough length to tie the ends and so the bracelet isn’t too tight. This is especially important if you’re going to make LOADS and have some further up your arm!
- Cut the Cord: Use scissors to cut the cord to the measured length.
Step 3: Secure the Cord
- Tape One End: Place a small piece of tape near one end of the cord to stick it to the table and prevent beads from sliding off while you’re working.
- Tie a Knot: Alternatively, if you’re using small beads, you can tie a little knot near one end of the cord so they don’t slide off.
Step 4: Start Beading
- String the Beads: Begin stringing your beads onto the cord. Start with a few decorative beads, then add your letter beads to spell out the phrase you’ve chosen. Continue adding beads until the bracelet is the desired length.
- Tip: Use a pattern or random assortment of beads to make your bracelet unique. Consider using lyrics, song titles, album titles, or inside jokes from the Taylor Swift fandom.
Step 5: How to Tie Friendship Bracelets
Tying friendship bracelets securely is one of the biggest challenges of making them (apart from choosing your colours and phrases of course!). We fasten ours with a triple knot to minimise the chances of it coming loose. Make sure to pull it tight, but not too tight, or you might break the elastic!
Here’s how you can do it yourself:
- Remove the Tape: Carefully remove the tape from the end of the cord. Hold onto the end so the beads don’t fall off!
- Tie a Knot: Bring the ends of the cord together and tie a secure knot. For added security, tie a double or triple knot (we use triple knots).
- Test the Knot: Gently pull on the bracelet to ensure the knot is secure and won’t come undone.
Step 6: Trim the Excess Cord
- Cut the Excess: Use scissors to trim any excess cord close to the knot.
- Seal the Knot: Optionally, you can add a dab of clear nail polish or glue (we use Super Glue) to the knot to keep it secure.
Tips for Making Taylor Swift Friendship Bracelets
- Be Creative: Mix and match different bead colours and styles to create unique designs.
- Personalise It: Use letter beads to spell out your favourite Taylor Swift lyrics, song titles, or inside jokes. If you’re wondering what to put on Taylor Swift bracelets, we have plenty of ideas to keep you busy. Or, check out our store and browse the ideas we’ve used on our bracelets.
- Quality Materials: Use high-quality elastic cord and beads to ensure your bracelet is durable and long-lasting.
- Comfort Fit: Ensure the bracelet is not too tight or too loose for a comfortable fit.
Now You Know How to Make Taylor Swift Bracelets!
Making Taylor Swift friendship bracelets is a fun and meaningful activity for fans. Whether you’re wearing them to a concert or sharing them with fellow Swifties, these bracelets are a perfect way to show your love for Taylor Swift and her music. Now that you know how to make a Taylor Swift bracelet, get creative and start crafting your own unique designs!
Happy crafting and have fun at the show!